Freezing and Storage Tips
How to Store and Freeze Breast Milk and Save Freezer Space
Things You’ll Need:
Sterile Breast milk containers. You may use storage bags or other quality milk bags in lieu of bottles. However, each donor should have sterilized containers prepared to collect and store your milk in before starting. If you prefer containers, you may use sterile food grade plastic or glass containers. If you are unsure if the containers are sterile, boil them in water for 5 minutes and let cool before using to collect/store your milk.
Black Sharpie pen for labeling.
Soap and water to wash hands before and after handling milk.
Step 1
Follow OTB recommended Best practices and aseptic techniques for Expressing and handling your milk. See also Tips for pumping your milk.
Step 2
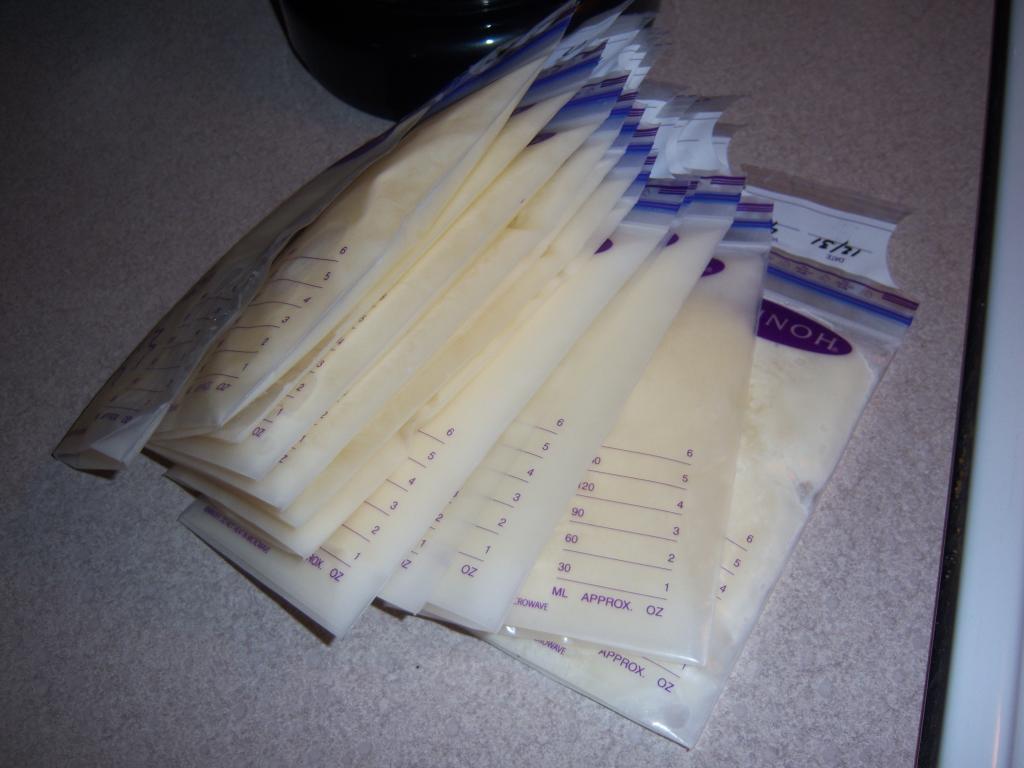
Make sure all containers are sterile and available to accept your milk donation before starting. Following the aseptic hand-washing recommendation, Label and Fill your Storage container. If using a plastic milk storage bag, pour milk into the bag. Label the bag with both the date (month/day/year) and mark the quantity of milk to be stored. It is a good idea to label your bag first so you don’t have to fumble with labeling a bag once it has been filled. Be careful not to spill so you can preserve every bit of your milk.
Note: Make sure to measure the quantity of milk BEFORE you fill the bag. Most storage bags have a ruler imprint directly on the bag, but can be difficult to read accurately since you are dealing with a liquid.
Step 3
Squeeze out the excess Air and Seal the bag. Some bags come with a double zip top. However before you seal, first be sure to squeeze out any air that may already be trapped in the bag. The easiest way to do this is to zip the bag most of the way, leaving a small 1/2 inch open. Then hold the bag to your chest and press down to release the remaining air and zip up the rest of the way to create an air-tight seal.
Step 4
Freezing your Milk: This is an initial step before you store your milk. If you choose to use sterile plastic bags, you can freeze by Laying Flat. Lay the milk flat in your freezer and freeze it for a day or so. Freezing flat will allow you to store easily, particularly when you are storing a volume of milk! If you have chosen to use sterile plastic or glass bottles, make sure you leave ½ inch room at the top so there is room for the milk to expand when freezing. These bottles can stack easily.
Step 5
Storing your Milk: Finally, once the milk is frozen, store it upright in a rectangular storage container. Stack your milk upright, in date order for easy access. When you need it, it is right there, nicely organized and easily accessible!

